# Masks premium
Masks can be used if you have an Aura license with Premium features enabled.
# Overview
A mask is an additional model that is added to the work area to intersect with the base model, changing the model's internal structure in the intersection volume. The Profile specifies the structure of the part. You can redefine some of these settings for masks.
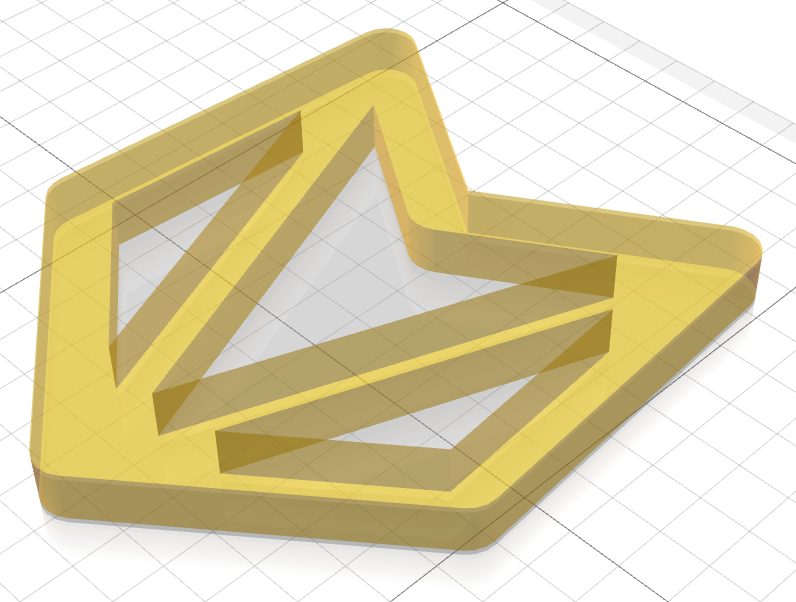
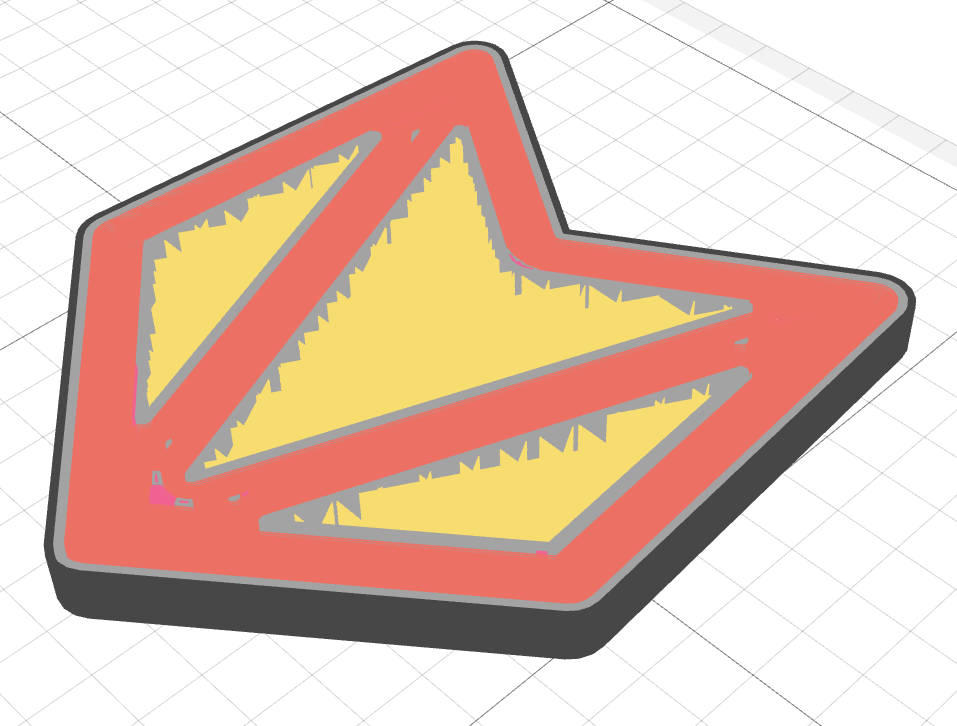
You can see the base model (grey) and mask model (orange) in the picture below. The base part volume inside the mask will be printed with special settings of the mask.

# How to add a mask
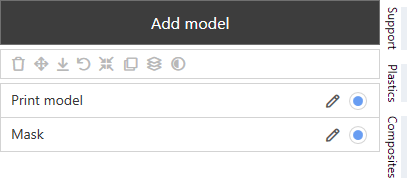
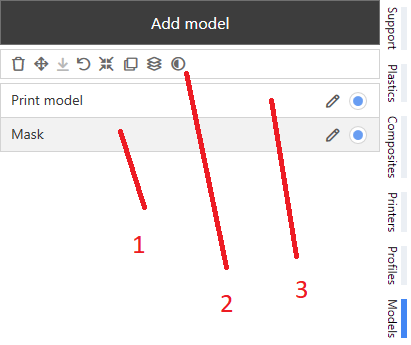
To add a mask, load a mask model from a file as usual. You can also load a base model together with its masks from a single STEP file. This way, the relative positions of the model and the masks will be preserved. After loading the mask model, the Models panel will look like this (the name of the added model is "Mask"):
After that, click on the added mask model (1), press the Set mask button (2), and click on the base model (3).
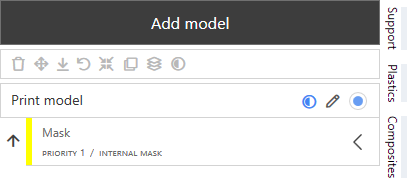
As a result, the Models panel will look like this:
# How to modify the mask
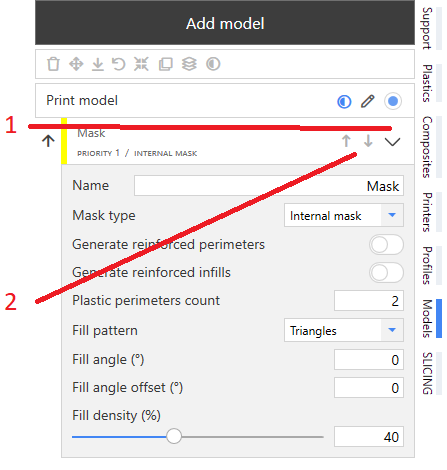
To open the mask settings, click on the down arrow (1). You can use arrows (2) to change the mask priority if you have several masks.
You can transform, copy, delete masks in the same way as the usual models. If you transform the base model, all its masks are also transformed.
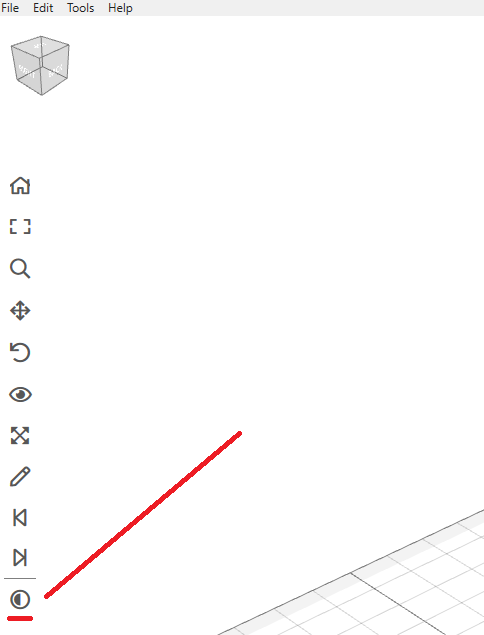
To show or hide masks in the viewport please use the Enable mask visibility button on the View manipulation toolbar
# Mask priorities
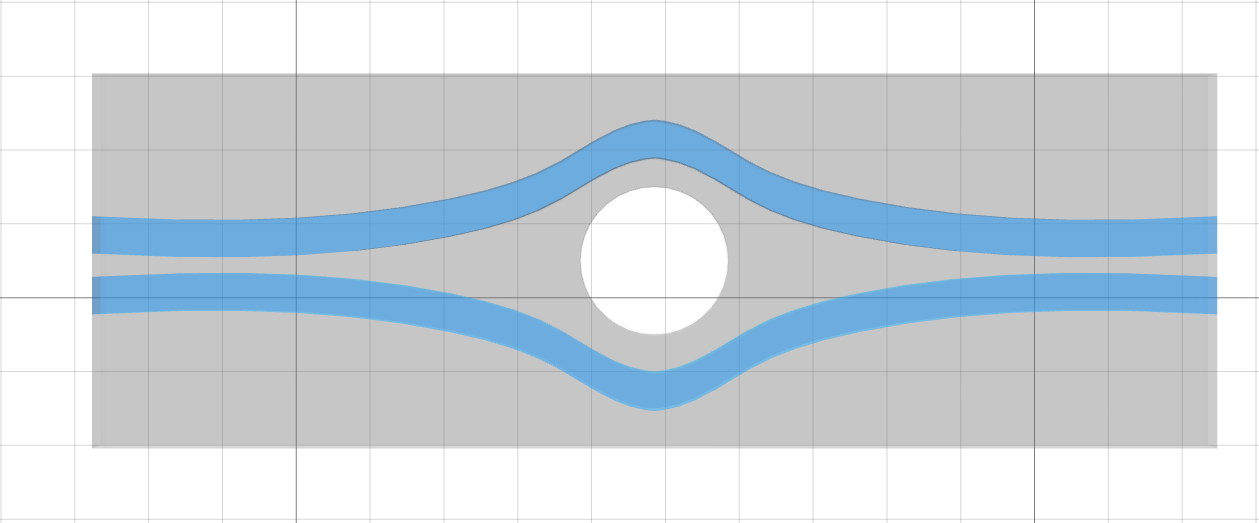
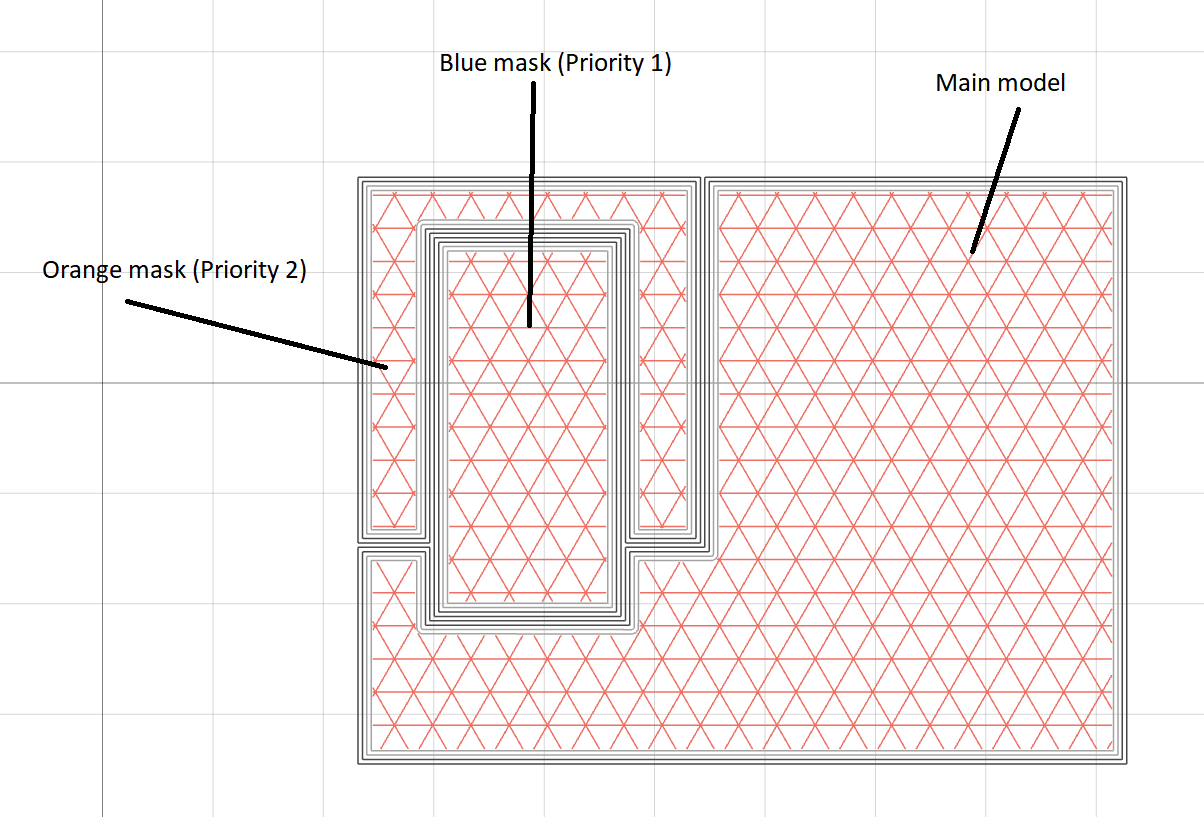
Consider a base model (grey) with two masks. The orange mask is intersecting the blue mask. Each mask has a priority. As a result, each area of the part, that is inside a mask, will use settings from a mask with higher priority. The priority "1" is the highest.
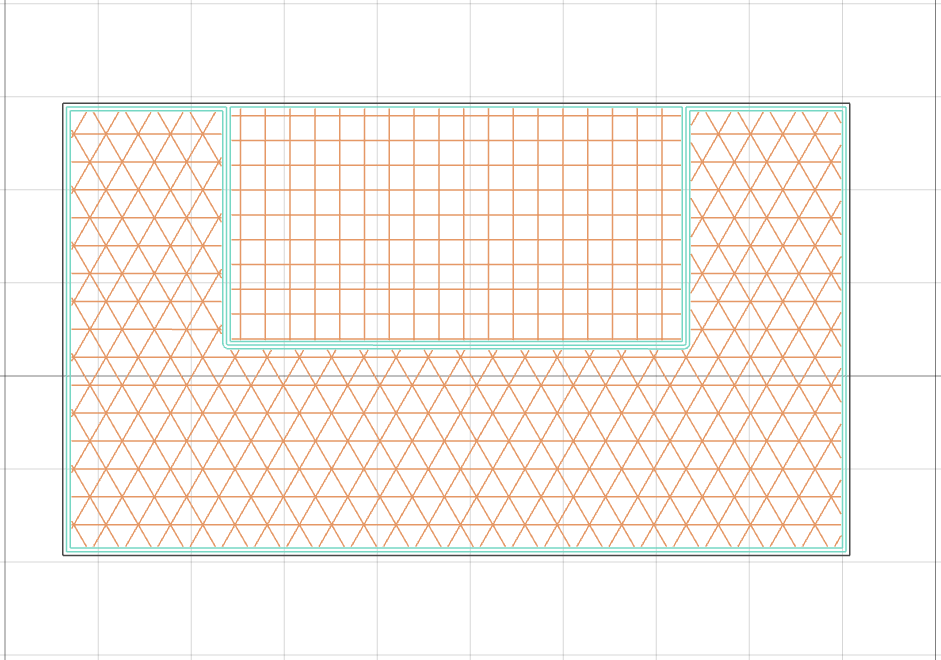
If the blue mask has higher priority (Priority 1) than the orange mask (Priority 2), the slicing result will be the following:

# Mask types
You can select the mask type in the mask settings on the Models panel.
# Internal masks
Internal masks allow specifying the internal structure of the part in the mask area. You can set the number of plastic perimeters, turn on or off reinforced perimeters, set their quantity, and select the type of plastic or reinforced infill and its density. All part areas outside the mask will be printed using the Profile settings. All internal mask entities will be printed inside the same external shell as the base part.
# Full masks
The full mask intersection volume is fully separate from the base model. So, you can additionally specify the number of external shell perimeters and top/bottom solid layers.
# Using masks on practice
Ususally, the masks can be used to set the special reinforcement for a specific area of the part, e.g. the most loaded area.
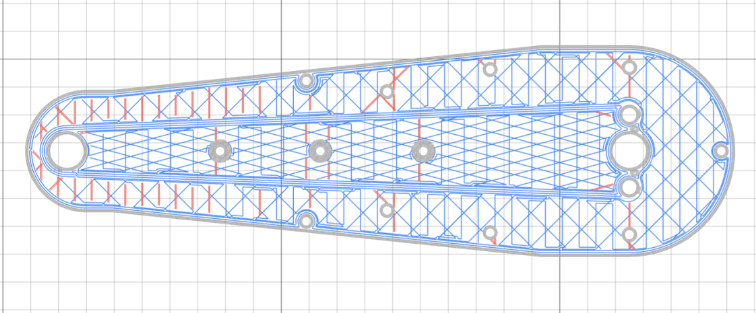
You can also use masks to control the fiber trajectories more precisely by adding a mask and reinforсing its volume with perimeters.